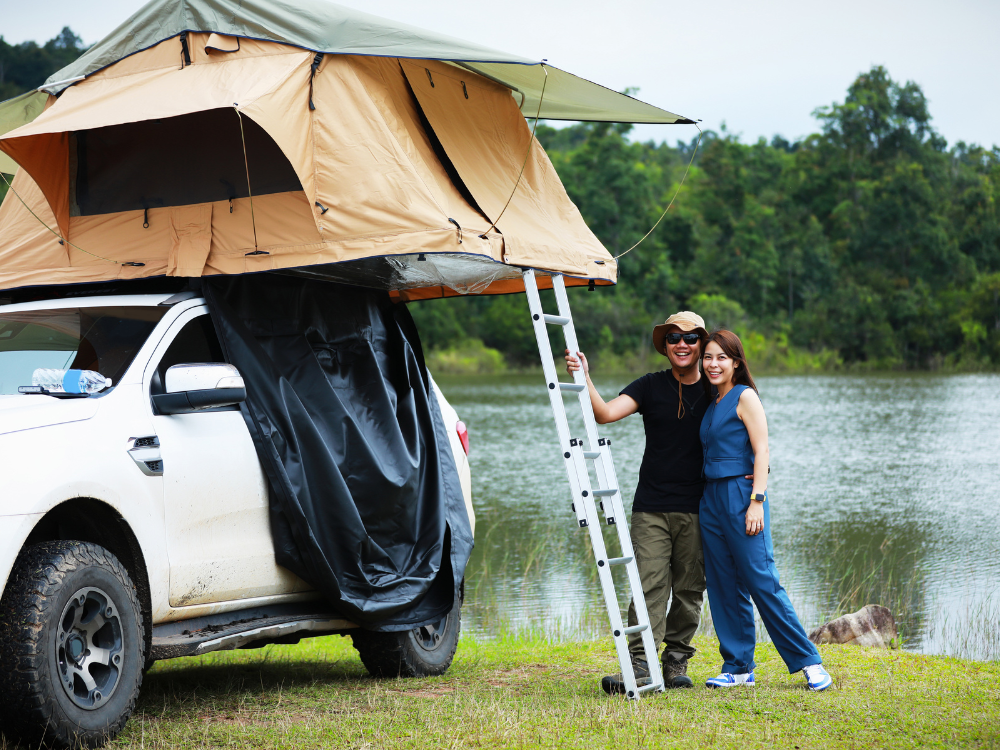
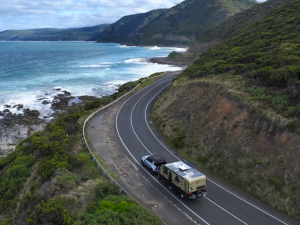
Dreaming of hitting the road but don’t have the budget for a custom-built camper? The good news is you don’t need a luxury fit-out to start your van life adventure of Australia. Whether you’re converting a van, fitting out a camper trailer, or simply making your SUV road-trip ready, a few smart upgrades can turn almost any vehicle into an adventure basecamp.
Here’s how to create a practical ‘van life’ setup without blowing your travel budget. Based on common lessons from DIY builders, planning your layout and prioritising essentials can save both money and headaches.
Before buying a single piece of gear, think about how you’ll actually use your setup.
Ask yourself:
Your answers will determine everything from your sleeping setup to how much storage and power you’ll need. Many experienced vanlifers recommend designing around your real travel needs rather than copying social media builds.
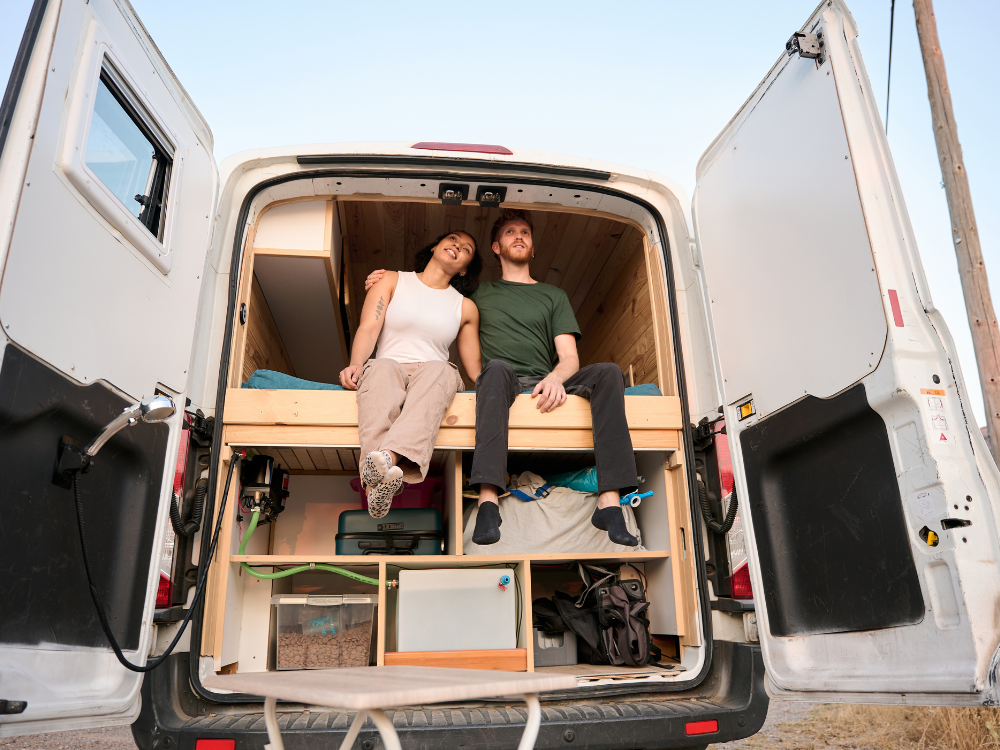
The bed is usually the biggest item in any setup, so start there.
Budget-friendly options include:
A raised bed has another major advantage — it creates valuable storage space underneath for camping gear, clothes and cooking equipment.
Pro Tip: Measure everything before building. There’s nothing worse than discovering your surfboard, esky or storage tubs don’t fit after you’ve finished the build.
Storage doesn’t need to be complicated.
Some easy options include:
The goal is simple: everything should have a place. This makes life on the road easier and stops your vehicle turning into a giant junk drawer after a few days.
If there’s one area worth spending a little extra on, it’s comfort.
Good insulation helps keep your vehicle cooler in summer and warmer in winter, while ventilation reduces condensation and keeps fresh air flowing.
Even basic builds should consider:
✔ Roof vent or fan
✔ Window ventilation
✔ Window covers or thermal blinds
✔ Basic wall and ceiling insulation
Many DIY builders say insulation and airflow are among the upgrades they appreciate most once they’re actually travelling.

You don’t need a gourmet kitchen to cook great meals on the road.
For most travellers, a simple setup works perfectly:
Slide-out kitchens are popular because they allow you to cook outside and save valuable interior space. Many travellers start with a portable setup and only upgrade later if they feel they need more.
Power systems can become one of the most expensive parts of a build.
If you’re just getting started, consider:
For many weekend adventurers, a portable power station provides plenty of power for phones, lights and small appliances without the complexity of a full electrical build.
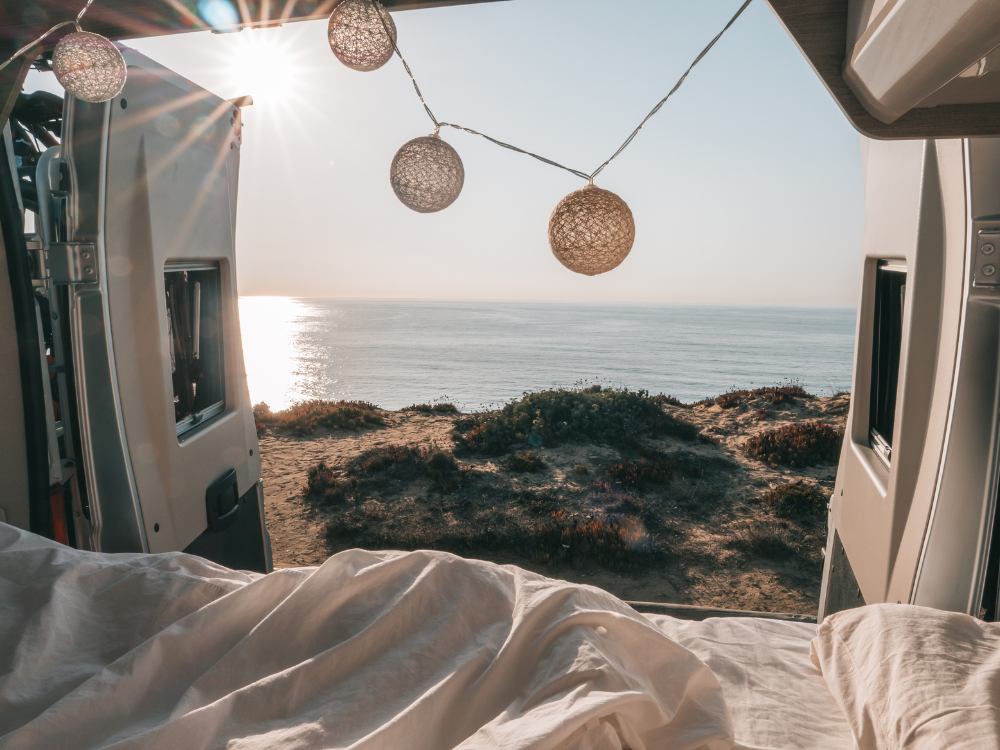
It’s often the small things that make the biggest difference.
Consider adding:
These upgrades are relatively affordable but can dramatically improve your camping experience.
If you’re starting from scratch, focus on these essentials first:
✔ Sleeping setup
✔ Storage
✔ Ventilation
✔ Basic cooking equipment
✔ Lighting
✔ Water storage
✔ Solar power
✔ Fridge
✔ Outdoor awning
✔ Portable shower
✔ Built-in cabinetry
✔ Permanent kitchen
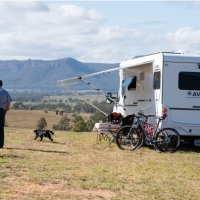
One of the most common lessons from those experienced with ‘van life’, is trying to build everything before taking the first trip.
Instead, start simple.
Take a few weekends away, learn what works, identify what’s missing, then upgrade gradually. You’ll save money, avoid unnecessary purchases and end up with a setup that genuinely suits your travel style.
Because at the end of the day, the goal isn’t to build the perfect camper — it’s to get out there and start exploring.
Ready to get started? Bunnings is a great place to start with project and storage ideas.
Recent Post:
Categories:
Tags:
Key Industry Partners